
I’v been in the middle of transitioning Jack’s bedroom, and by that I mean slowly piecing his room together with simple elements of design. Before hand his room was just a whole lot of toys and pieces of furniture that were good enough for storage, we never really had a specific theme. After building a pretty cool industrial shelf, I knew it would be the perfect piece for Jack’s bedroom. Since then, I have been slowly adding, changing, and creating a theme wrapped around the industrial shelf! Here’s a little project I have been working on…
And guess where these wire baskets are originally from!
 These baskets were from an old freezer my parents owned. They were just sitting in the basement collecting dust and cobwebs. Then I gave them a new purpose! Continue reading to find out.
DIY Chalkboard Tags
 Step 1: Start with a piece of wood that is approximately 4″x 8″ x 1/4″.
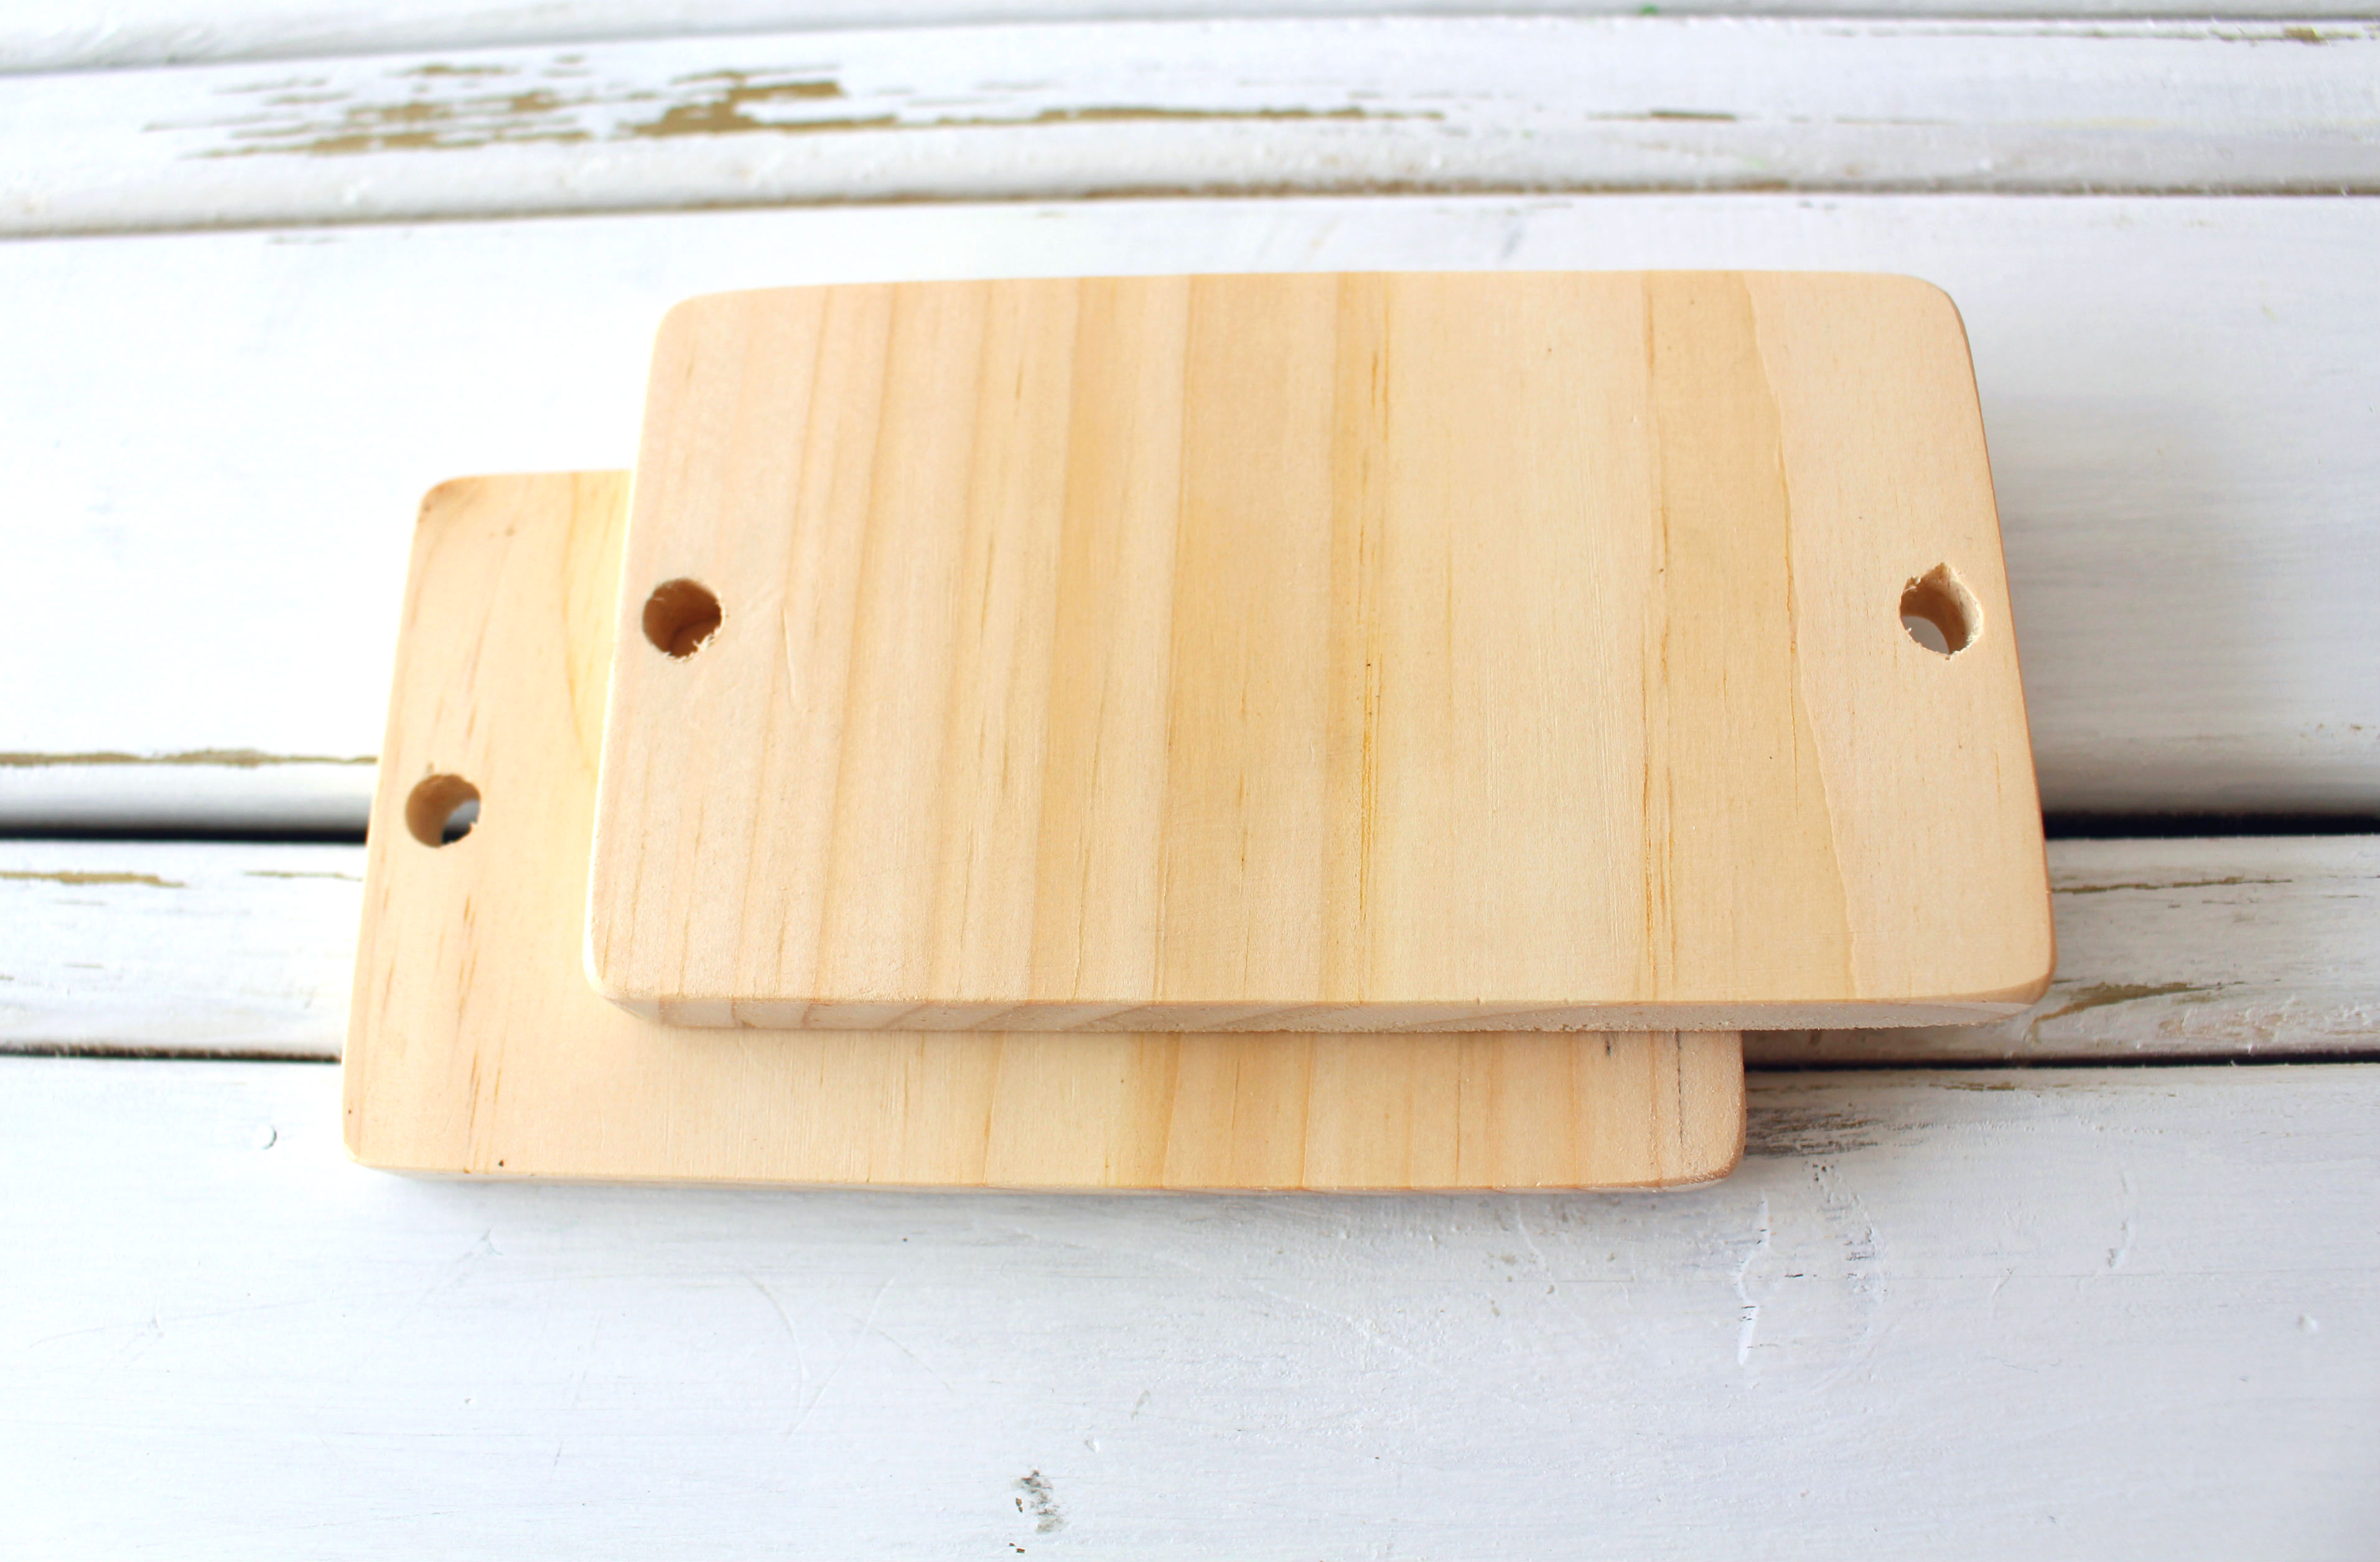
 Step 2: Cut every 2″ and you will have 4 pieces that are 2″ x 4″ x 1/4″.
  Step 3: Once each piece is cut, measure or eyeball a hole on each end and use a drill to create a hole for the wire or string that you plan to secure tag in place.
  Step 4: Sand the edges, corners and surface.
 The tags are ready for some chalkboard paint.
  Step 5: Begin painting one side, let dry approximately 20 minutes, flip and paint other side. I did 3 coats in total.
  Step 6: Use a q-tip to paint the inside of the hole.
 Step 7: Once your chalkboard labels are dry, approximately 24 hours, cut wire or string to secure tags in place.
 Step 8: Attach and write on the DIY chalkboard tags…Ta-da, your finished!


 Now Jack’s stuffed animals have a home! (And Jack is totally photobombing above)
Thanks for reading,
![]()
Cure idea! i can think of so many things at my house that I’d like to organize in this way
Yes, this kind of happened by fluke! I have so much I need to organize in the rest of my house.. one room at a time ;)
I love for so many reasons! I’m totally pinning and doing this weekend! Thank you for sharing!! xx Ashleigh @SimplyWright
Yes, please do! They are so great for multiple things :) Thank you!!
They look great! I would love to try these in the boys room when we move!
Yes!! And send me pics :) Happy moving!
Those are great! I adore chalkboard tags, and those look really durable. Pinning!
Haha, thank you so much- I appreciate it :)
I love these! They are adorable!
Thank you!!
so freaking cute! I kind of forgot about chalkboard paint. I’ve used it before but not for a while.
I have had my quart of chalkboard paint for 3 years!! It’s the best to have on hand, and the DIY’s are endless ;)
These are so cute! and I love the idea that you can change them up whenever what you’re storing changes. Very nice!
The White Corner Creative
Thanks! They are so easy to make and yes they are perfect for multiple things :)
Are there directions for building the shelves somewhere? I love the look and so practical for a boys room.
Thanks Donna :) The DIY tutorial is at http://www.helloyellowblog.ca under DIY!
This is a cute and very practical idea. I particularly like that you can re-use the parts and your needs change. I would like to know the size of the pipes you used. I can’t find anything longer that 6″, and these seem more like 12″. It would be helpful to know where you purchased them, too.
Carolee, thanks so much!! You can find the whole tutorial at http://www.helloyellowblog.ca under DIY!! I got the pipes at Home Depot :)